

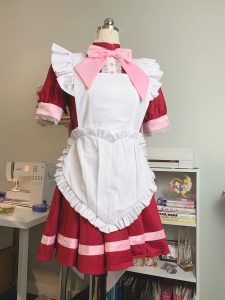
Welcome to Cafe Mew Mew!
With the news that Tokyo Mew Mew would be making a come back last year I knew it was finally time to put together a full Tokyo Mew Mew Group! I’ve always dreamed of having a full group but never found members to join me or the courage to ask people. Luckily I have some incredible cosplay friends who quickly joined me for this group!
We’re going to be debuting the Cafe Mew Mew Uniforms at Sakuracon 2020! I’ll be honest while I’ve always thought these designs were cute, they’ve never been my favorites. Something about the puffy heart in the front stopped me from making them. There’s no way that design could be cute in real life right? Having such a puffy piece in front of your hips can’t be flattering! Well, I was wrong! I think we’ve found the perfect way to keep these uniforms true to the design while eliminating the bulk! Read on to find out how we did it~
If you prefer to learn via video I have shared a full video tutorial on my YouTube as well! I know that everyone learns differently and I want to do my best to help everyone! Be sure to check it out and subscribe to my channel if you haven’t already!
If you’d like to sew along with me as we create this Apron you’ll want to gather some materials:
• 2 Yards White Cotton
• 2 Yards Medium Weight Interfacing
• 4 Snaps
• White Thread, Scissors, Sewing Machine, Etc
Once you have your materials together we are ready to get started! This project should take 3-4 hours, so this is a great project to work on if you have limited sewing time. Let’s get started!
Cutting
Before we begin sewing we’re going to need to cut out our pieces. Most of this apron is made of rectangles, the only other shape is the heart! All of our pieces are going to cut from our white quilting cotton.
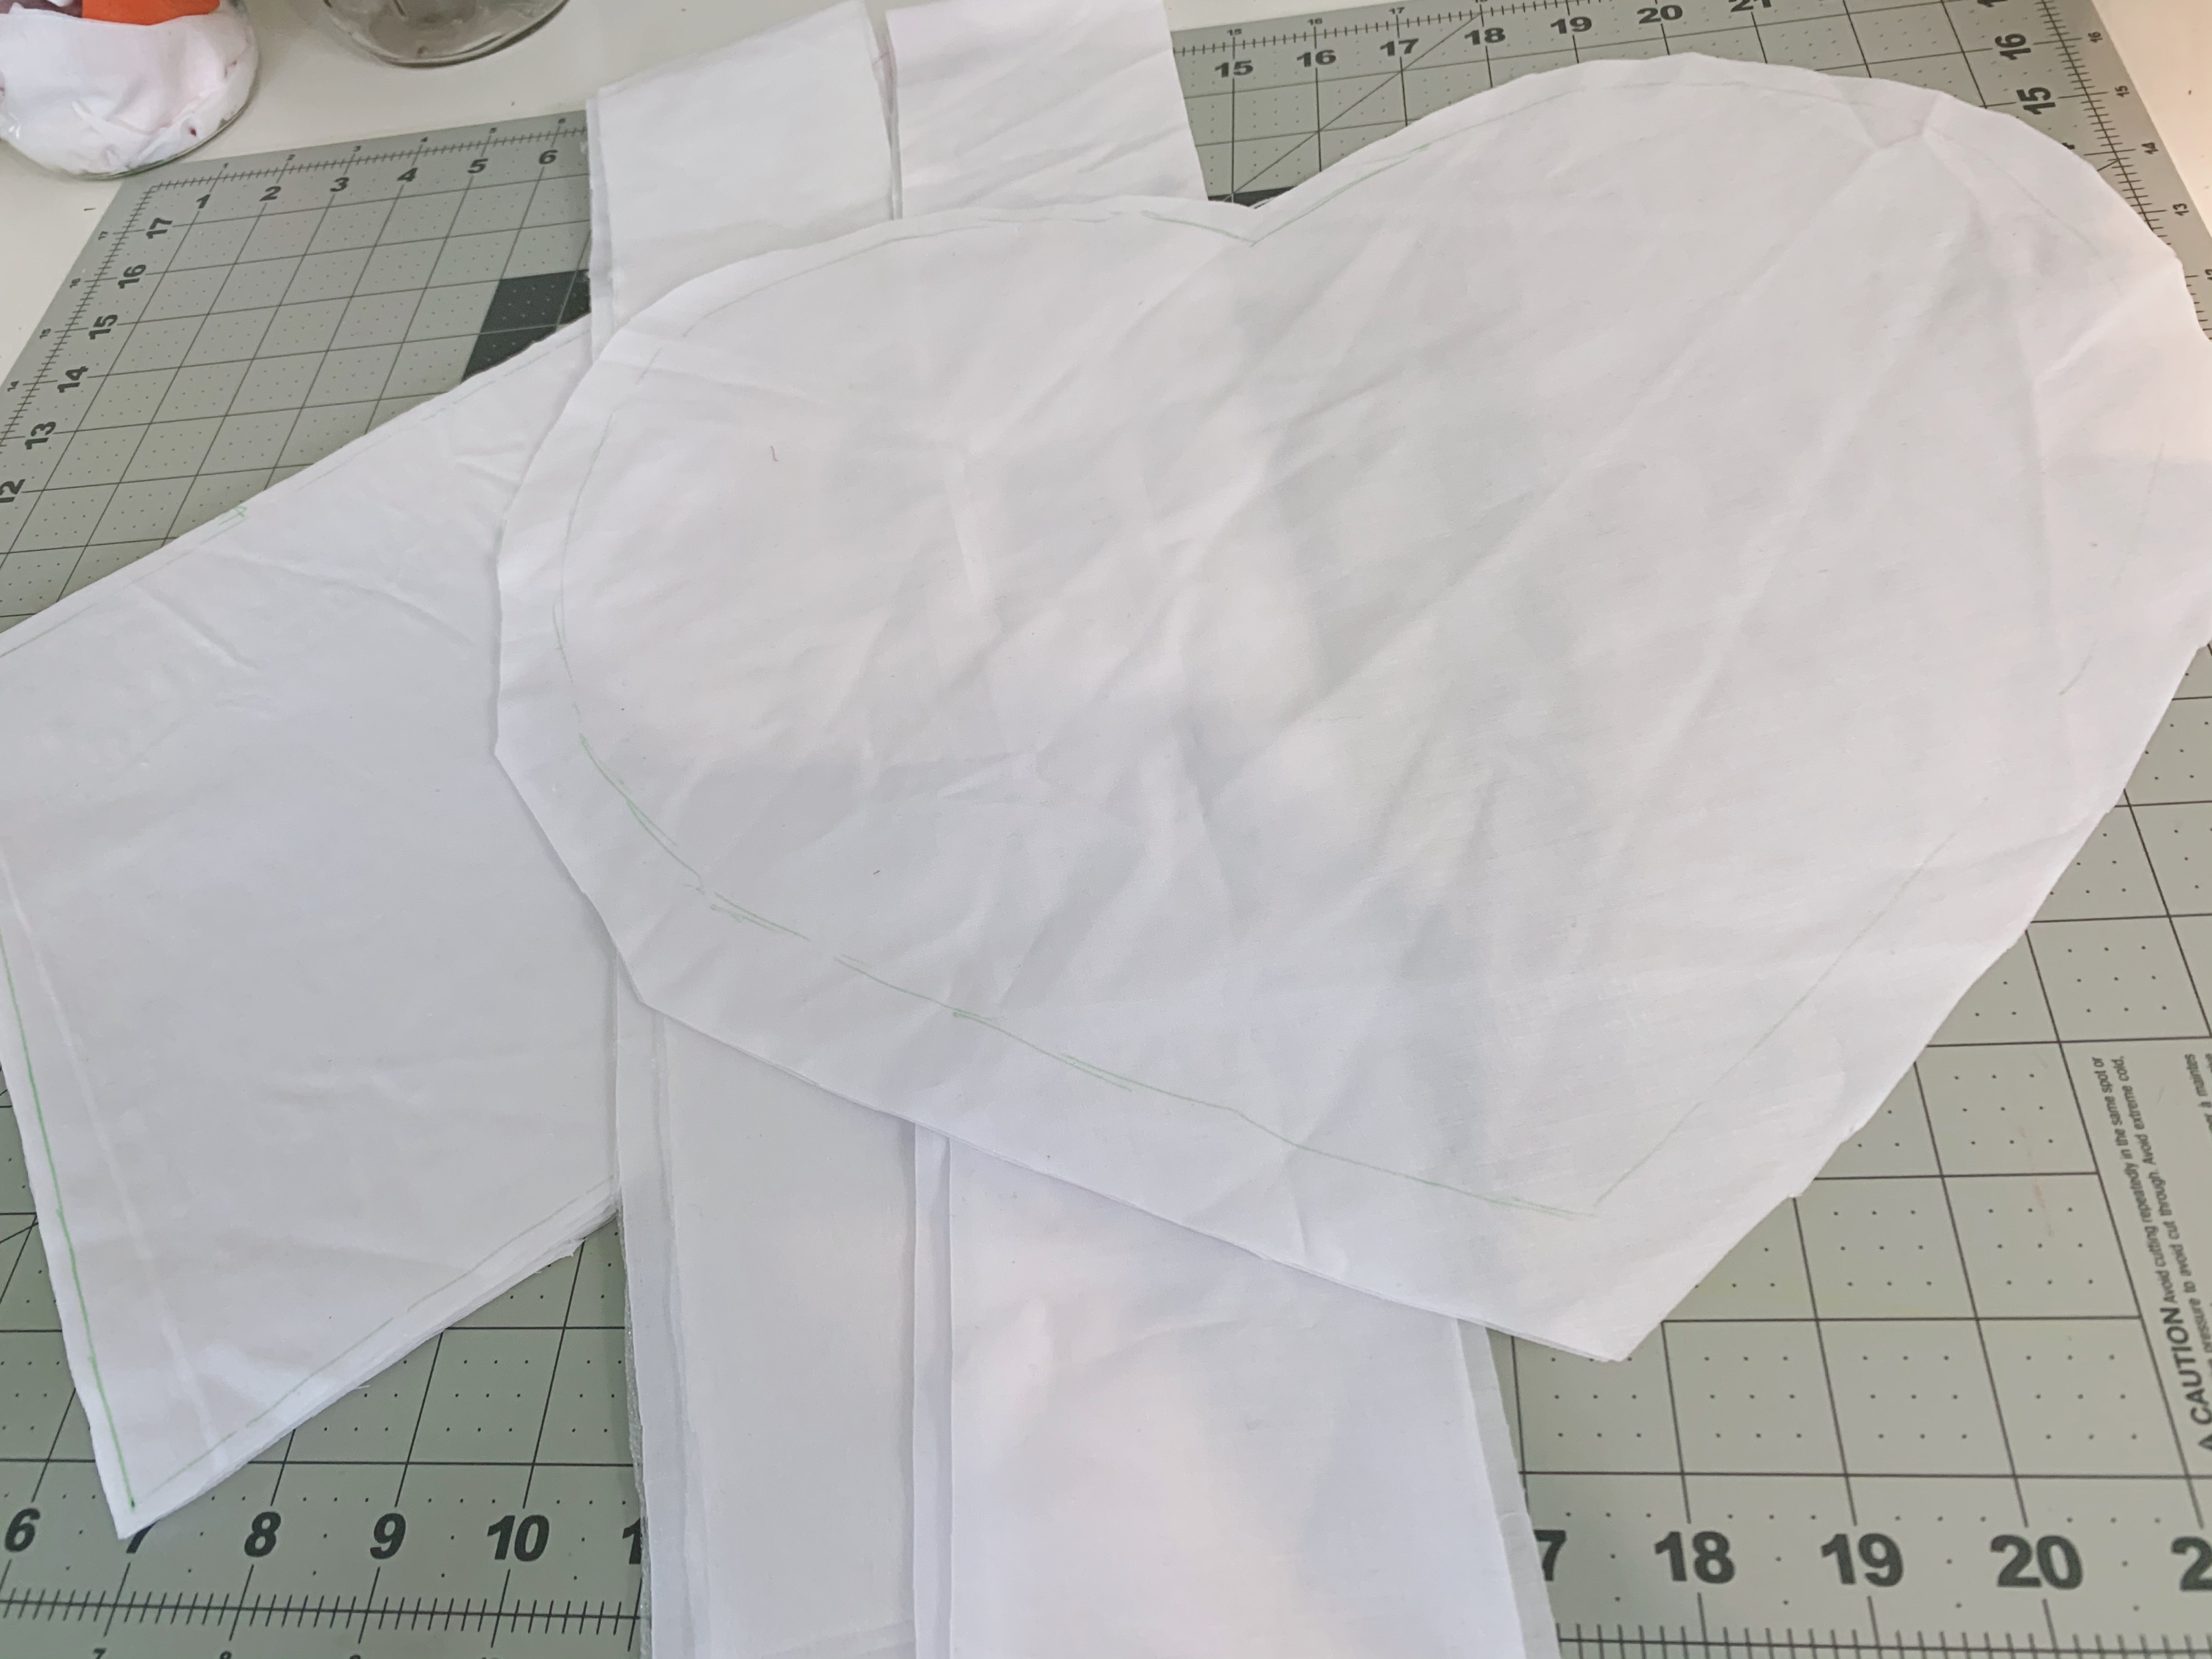
My cut pieces for the Cafe Mew Mew Apron
- First you will need to have your waist measurement and a measurement for the length of your straps (from front waist over the bust and shoulders to back waist)
- We will begin by cutting out five 3.5″ X Y” strips. Where Y is your waist measurement in inches.These will become the straps and waist band.
I’ve found that strap length often is very similar to the length of the waist band however if yours are drastically different you may cut four of your five strips to your strap length.
3. Also cut two strips that are 8″ x 44″ and two that are 4″ X 44″. (44″ is the width of most cottons). These will become your ruffles for the straps and heart.
Next we will cut the front of our apron and the heart piece. My front piece ended up being 10″ tall, 6.5″ wide at the bottom and 8″ wide at the top. Please note this includes half inch seam allowance on all sides.
4. Cut your front piece. To get an even angle on both sides cut this piece on the fold. Cut two of them!
5. Next cut two of the heart pattern. Note that the pattern has no seam allowance so be sure to add some while cutting.
For my group I supplied my members with a heart pattern. However you can easily create one for yourself! My heart is approximately as wide as my hips and sits at my waist with the tip nearly hitting the bias stripe on my skirt. I suggest cutting your pattern from paper and holding it against yourself to test the shape.
6. Using a medium weight interfacing interface one of your front pieces and two of your strap pieces. This is to help with stability and opacity of the white cotton.
Sewing the Top
Under Stitched Top Pieces
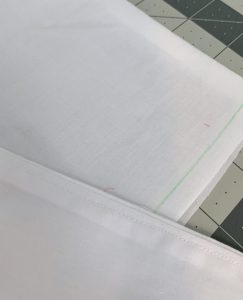
- Place your front pieces on top of each other with right sides together (so the interfacing does not end up on the outside) and stitch along the top (8″) edge with half inch seam allowance.
- Press that seam with the allowance going down – this creates a clean top edge for our apron.
- Next we are going to under stitch this piece. Open the piece so you can see the wrong sides of the fabric and the seam allowance. Stitch the seam allowance onto the interfaced piece of your apron. This stops the lining from popping out.
Before we can attach our straps to our tops we will need to add our ruffles!
4. Take your 8″ X 44″ strips and iron them in half.
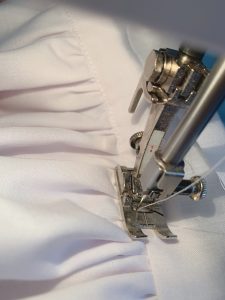
5. Next we are going to ruffle both of these strips. I do this using two long basting stitches along the raw edge of the strip. You could also use a ruffle foot or a serger.
6. If you are using the basting stitch method pull on one string from both stitch to begin ruffling these strips. We want them to end up being approximately 20″ when ruffled.
7. Now we will attach one ruffle to each of our interfaced straps. Start by find the center of the length of your strap and your ruffle. Pin these together. Now without stretching the ruffle pin it down the length of your strap. When you get near the ends of your ruffle slowly pin the ruffle at a slope so that when the ruffle ends all raw edges are outside the strap.
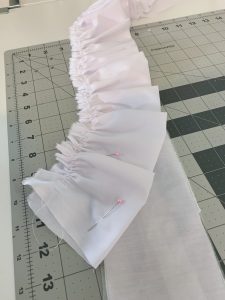
Ruffle Pinned to Strap
With your ruffles attached we are going to add our strap lining.
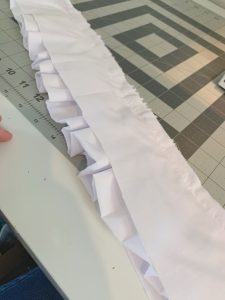
8. Sandwich your ruffles between your interfaced strap and one of your non interfaced straps. Stitch these together all along the edge with the ruffle.
9. Trim any excess seam allowance. Turn this inside out and press firmly.Next we’re going to under stitch the ruffle. This will keep the ruffle in place. From the right side stitch the seam allowance onto the interfaced strap.
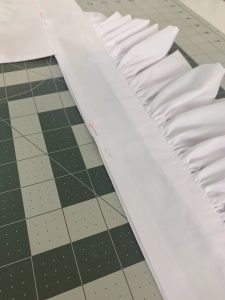
Now we have some adorable straps!! I felt so happy when I had finished ironing these and could place them on my dress form. They are so fluffy and cute~ Next we’re going to add the straps on to the top piece.
10. Pin your straps to your front piece with half inch seam allowance. Be aware of where your ruffles begin on your straps and try to keep each side even. My ruffles started 5 inches up from the bottom of my top piece.
11. Once attached press these seams to create a straight line.
12. Now we will finish off the straps. Using the seam we just made as a guide iron over the seam allowance of your straps and pin into place.
When ironing your seam allowance I suggest starting with the “right” side of your apron then ironing the “wrong” side to be a little smaller so you don’t see the other edge.
The strap seam allowance pressed and pinned
13. From the right side stitch these pieces together. Try to stitch as close to the edge as possible while still catching your under side.
Now we are ready to attach our waist band to our apron top!
14. Iron your remaining 3.5″ Strip in half and stitch along the raw edges. Turn this tube inside out and press flat.
15. Find the center of this strip. Line it up with the center of your top. Now you can seam rip a segment of this tube wide enough to fit your top. Place your top into this hole and top stitch into place.
16. Next measure your waist band and mark the ends based on your waist measurement. Follow the same steps as for the top; place your strap ends into your waistband keeping their edge as close to the end of your waist band as possible.
I suggest pinning these in place and trying it on before stitching. You may find that you want to make your straps a little shorter! Now you have a functional top!
Creating the Heart
These uniforms feature a puffy heart! Rather than making our hearts fluffy we are going to put a ruffled panel on top of our hearts! I like using a ruffled panel rather than a fluffy pillow to help keep bulk off the front of our waist and to maintain a streamlined silhouette.
- Cut a piece of your cotton that is approximately 15″ X 24″. Run a basting stitch along both long edges of this piece and gather it to be around the same size as your heart piece.
2. Iron your gathers down and pin the ruffled square to one of your heart pieces. Stitch them together with a basting stitch and trim your seam allowance.

The heart and pressed ruffle panel
Now that we’ve added the puffy layer to our heart we are going to add the ruffles that go around the edge of it! You can never have too many ruffles!
3. First connect your 4″ X 44″ Strips creating a circle. Press this in half creating a circle that is 2″ X 88″.
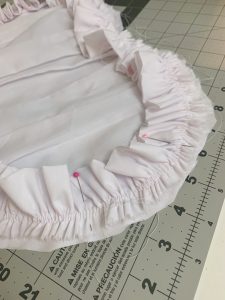
4. Using the gathering method of your choice gather this circle to be the same size as your heart. Use the seams of your circle as a guide to where each half of the heart is. You want your ruffles to be as even as possible.
5. Pin your ruffles around the edge of your heart and stitch into place.
Now we can finish the heart!
6. Place your other heart shaped piece on top of your ruffled heart sandwiching your ruffles and puff in between the two heart layers. Stitch around the edges leaving around 4″ open on one of the straight edges.
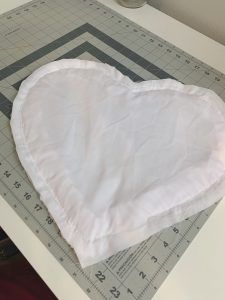
7. Clip into your seam allowance around the curves of your heart. Then turn your heart inside out using the gap we left in the last step. Once turned inside out iron your heart flat.
My finished Hearts
Finishing the Apron
We are so close to finishing these aprons! Now we can attach our heart to our apron top! Line up your heart to the waist of your apron and pin securely. I placed mine while my apron was on my dress form to make sure the heart was in a good position.
- Attach your heart to your waistband by hand or by “stitching in the ditch” around the ruffles.
- Finish the segment of the heart that we left open by blind stitching.
- Fold the edges of your waist band inside them selves and hand stitch closed. Attach a snap or hook & bar to your waist band as a closure!
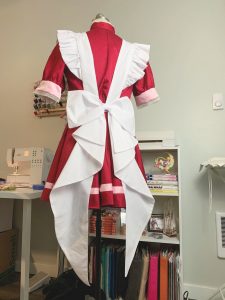
Lastly we’re going to add a giant butt bow! My group is using the Sparkle Pipsi Butt Bow Pattern and a Waterfall Tail Pattern. I’ve talked about making bows before, so I’m not going to go into great detail as to how I did this.
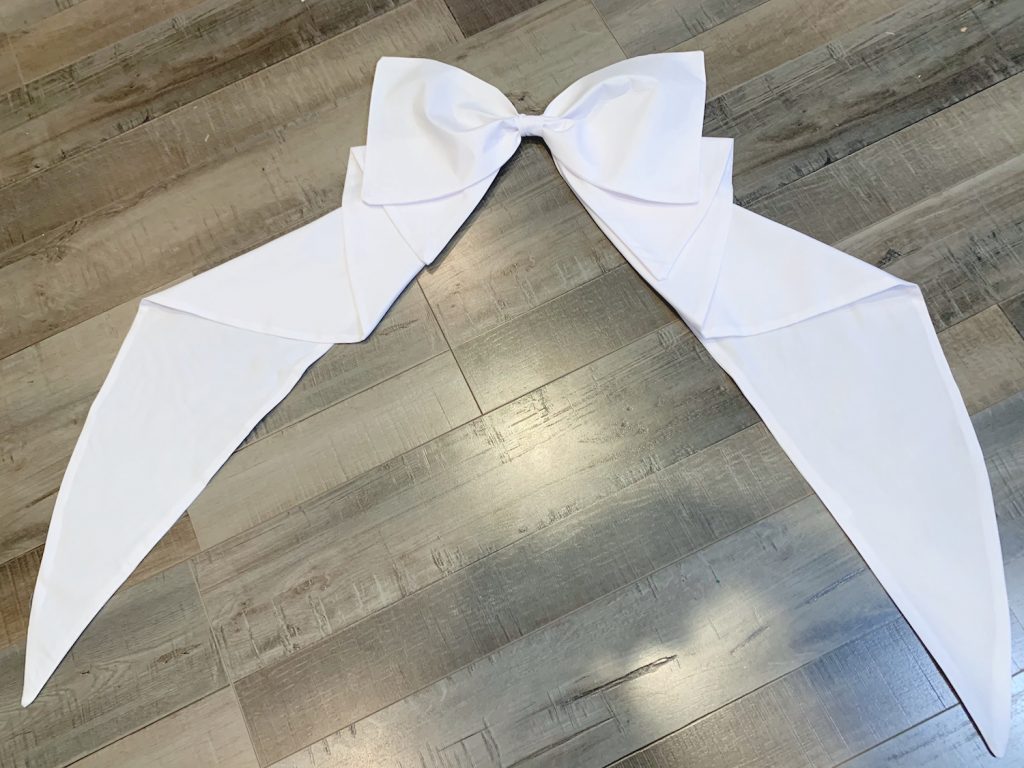
A Finished Mew Mew Bow
4. Once your bow is completed we can attach it to the apron! Hand stitch your bow to the back of your waist band.
5. To keep your bow level I’m going to stitch one side of my bow to my waist band and add a snap to the other side that will also attach to the waist band. If you do not want to do this step you could also use a chopstick in your bow to keep it perky.
Now you’ve finished your Cafe Mew Mew Apron!
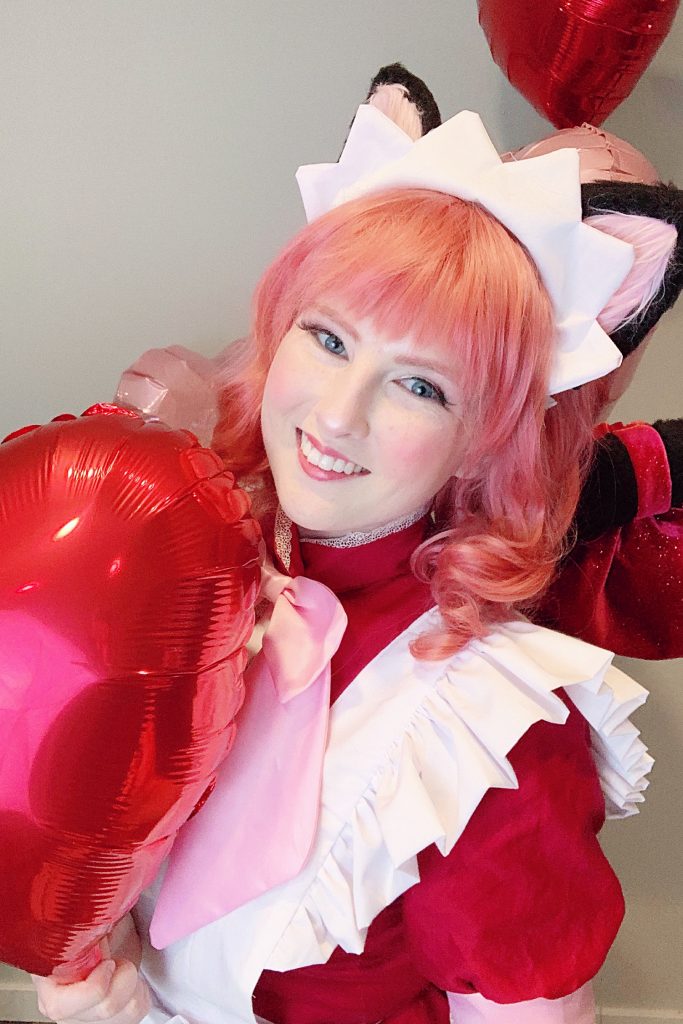
Eli as Cafe Maid Ichigo
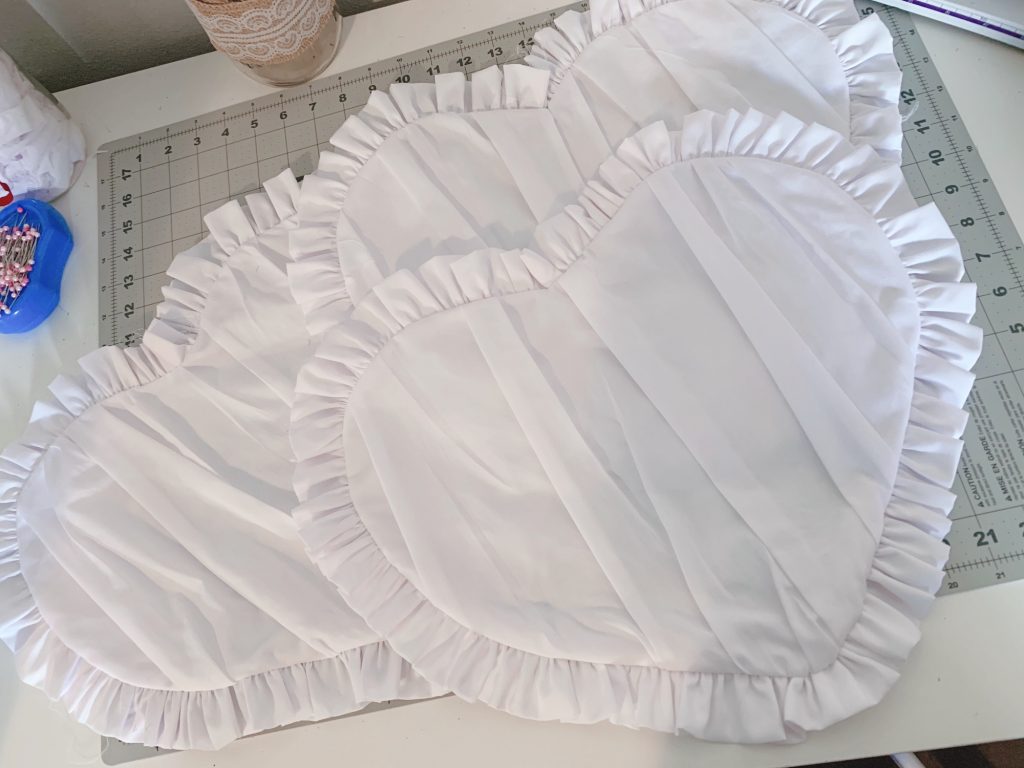
These aprons are absolutely adorable! I’m so happy with how ruffly and cute they are. I can’t wait to wear this at Sakuracon with our full group (did I mention we have a Berry and Ringo too)!! I just know we are going to be absolutely adorable!
If you make your apron following this tutorial please be sure to tag me (@EliEbberts on all platforms) so I can see it! I’m always happy to see Mew Mew cosplays. Now head off into the world and protect us from aliens. For the future of the earth we’ll be of service~
And of course, Keep Sewing, Stay Positive and Have Fun! ♡
-Eli
Leave a Reply